
Welcome to my very first DevBlog! As this is where I will regularly post updates regarding my progress and challenges surrounding my final year project, there will be many more to come. So, let's not waste time and get right into it. Originally, my idea was to make a complete 3D renderer, but this turned out to be too big of a task to achieve in such a short time. Due to this, I began looking into voxels, which led me to finding a developer who made a completely destructible world with particles, physics, water simulation and the like. This piqued my interest, as I had already wished to do more with OpenGL. Minecraft, which uses perlin noise to procedurally generate each world, is a great example of a game that used OpenGL to render voxels. Given all the information above, I decided to create a procedural generation of voxel terrain for my final year project!
Project Setup & Drawing my first triangle
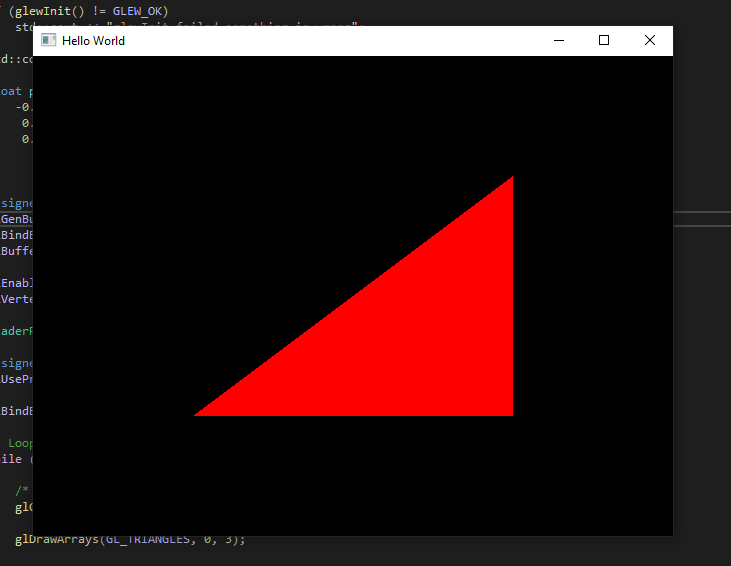
The first step was to setup my environment, so I decided to use Visual Studio 2019. In my opinion, it’s the best IDE out there. Next, I got all my dependencies (GLFW library, GLEW library and GLM library for maths) and put them in the project. I added them to the linker and preprocessors in Visual Studio so I could use the libraries. Once that was all done, I used legacy OpenGL 1.1 to draw a triangle to the screen by specifying 3 vertices at a certain position, as you can see below.
Modern OpenGL Rendering
Legacy OpenGL is great for quickly rendering shapes to a screen, but limits what you can do. Modern OpenGL (version 3.3 and above) allows for extensive use of buffers and shaders. This gives the user increased freedom, such as the ability to implement index buffers and vertex buffers to use the same vertices more than once, boosting performance. I did this to create a square, generating a vertex buffer and index buffer by binding the vertex buffer and storing the positions, then did the same with the index buffer. I used indices instead of vertices in order to use the same vertices twice. Finally, I needed the vertex shader to set the positions of each vertex, and the fragment shader to set the colour. I then read the shaders from a text file so OpenGL could pass in the shaders to the graphics card where it handles drawing the triangles. The final product was a square(ish).
float positions[] = {
	-0.5f, -0.5f,	//0
	 0.5f, -0.5f,	//1
	 0.5f,  0.5f,	//2
	-0.5f,  0.5f,	//3
};

unsigned int indices[] = {
	0, 1, 2,
	2, 3, 0
};

unsigned int buffer;
GLCall(glGenBuffers(1, &buffer));
GLCall(glBindBuffer(GL_ARRAY_BUFFER, buffer));
GLCall(glBufferData(GL_ARRAY_BUFFER, size, positions, GL_STATIC_DRAW));

GLCall(glEnableVertexAttribArray(0));
GLCall(glVertexAttribPointer(0, 2, GL_FLOAT, GL_FALSE, sizeof(float) * 2, 0));

unsigned int ibo
GLCall(glGenBuffers(1, &ibo));
GLCall(glBindBuffer(GL_ELEMENT_ARRAY_BUFFER, ibo));
GLCall(glBufferData(GL_ELEMENT_ARRAY_BUFFER, 4 * 2 * sizeof(unsigned int), indices, GL_STATIC_DRAW));

ShaderProgramSource source = ParseShader("resources/shaders/Basic.shader");

unsigned int shader = CreateShader(source.VertexSource, source.FragmentSource);
GLCall(glUseProgram(shader));

GLCall(glDrawElements(GL_TRIANGLES, 6, GL_UNSIGNED_SHORT, nullptr));

Error Handling
Anyone who has used OpenGL before knows the error handling out of the box isn't great, the worst case being a blank screen with no errors whatsoever. Now, if you’ve taken a look at the code, you're probably wondering what GLCall is. It’s a wrapper for GLGetError, and wrapping all the OpenGL functions in it will precisely detect on which line the error occurred. It breakpoints at the line it crashes at, although the debug message is pretty vague. However, since OpenGL 4.3 glDebugMessageCallback is a new way of error handling, it just needs to be set once and no wrapper is needed. It also gives you a more detailed debug message. I decided to implement both to save myself the headache on typos, wondering why I'm staring at a black screen. The first message in the picture below is the new debug message from 4.3, and the other is the previous way of error handling. Keep in mind glGetErrors works with 3.3, but this day and age most computers have 4.3 or above on their graphics card.
#if VOXEL_DEBUG == 1
#define ASSERT(x) if (!(x)) __debugbreak();
#define GLCall(x) GLClearError();\
	x;\
	ASSERT(GLLogCall(#x, __FILE__, __LINE__))
#elif defined(VOXEL_RELEASE)
#define ASSERT(x)
#define GLCall(x)
#endif

Messing with Uniforms
I decided against changing the colour of the shape in the shader. I did some research, and found out you can create a uniform vec4 in the fragment shader and grab that uniform's location in the shader by using glGetUniformLocation. You then pass in the shader and the name you called that uniform. Once you do that, you can then create a glUniform4f, set the location and put in whatever colour you wish in the cpp file. Since I could do this, I set the red value to change between 1 and 0 in the while loop which made a very cool looking shape that changed colour. Now you know how the square at the top of the page is changing colour! You can also use any other glUniforms too, which is very useful.
#shader fragment
#version 330 core

layout(location = 0) out vec4 colour;

uniform vec4 u_Colour;

void main()
{
	colour = u_Colour;
};


float r = 0.05f;
float increment = 0.05f;

GLCall(glUniform4f(location, r, 0.3f, 0.8f, 1.0f));
GLCall(glBindVertexArray(vao));


/* Loop until the user closes the window */
while (!glfwWindowShouldClose(window))
{
	/* Render here */
	GLCall(glClear(GL_COLOR_BUFFER_BIT));

	GLCall(glDrawElements(GL_TRIANGLES, 6, GL_UNSIGNED_SHORT, nullptr));

	if (r > 1.0f)
		increment = -0.05f;
	else if (r < 0.0f)
		increment = 0.05f;

	r += increment;

	GLCall(glUniform4f(location, r, 0.3f, 0.8f, 1.0f));

	GLCall(glfwSwapBuffers(window));

	/* Poll for and process events */
	GLCall(glfwPollEvents());
}
What Do I want to get out of this project?
I wanted to base my Final Year Project on what I love and what I am interested in. Right off the bat, I really wanted to properly understand OpenGL from the ground up, and what's better than starting from scratch? As for voxels, a friend told me about a developer named Dennis Gustafsson, who is making a Voxel Engine that looks incredible! I have included a clip below of his amazing work. For the procedural generation with perlin noise, it sounds interesting and fun to see procedural terrain being generated in real-time (a big inspiration from Minecraft). Optimisation with voxels is a big key, as they are cubes and allow for extensive use of rendering techniques that polygons can’t do, since they can be different shapes. I am hoping that, with the use of rendering techniques, I can demonstrate to the user the huge performance boosts it has. At the end of all this, I hope to learn a lot about OpenGL and graphics programming as it fascinates me; to increase my knowledge of voxels, and acquire knowledge of how to integrate voxels in with perlin noise to create a procedurally generated world.
Goals
- Learn a lot of OpenGL
- Rendering voxels and lotsss of Chunks! :D
- Procedural Generation using Perlin Noise
- Optimisation - Benchmark render techniques
Voxel Smoke Particles:
Procedural content with polygons is painful, but with voxels... not so much. Wrote a script to generate buildings of different sizes including roof supporting structures. Also new explosion and fire effect using the simulated smoke. pic.twitter.com/28TCX3lfyY
— Dennis Gustafsson (@tuxedolabs) August 7, 2019